


Parachute power
Craft your own parachute – and learn about history and science while you're at it.
You'll Need
- Lightweight plastic bag
- Scissors
- Hole puncher
- 8 pieces of yarn or twine, cut to the same length
- Clear tape
- Small toy
Learning Stages
Mini language lesson
Parachutes are used to slow the motion of an object through the atmosphere. The word “parachute” comes from the French expressions for “protect against” and “fall”. Parachutes protect pilots, soldiers and aviation enthusiasts from falling and getting hurt.
Mini history lesson
In September 1783, the Montgolfier Brothers launched a hot air balloon carrying a sheep, a duck and a cockerel to demonstrate that it was possible to survive in the sky. Air transportation has come a long way from the paper balloon that the Montgolfier brothers designed. Today, jets are streamlined to cut through the air and go as fast as possible. Parachutes are used for deceleration, so they are designed to create as much air resistance as possible.
In 1922, Leslie Irvin founded an organization for people whose lives were saved by parachutes when they jumped from disabled aircrafts. As the inventor of the first free-fall parachute, Irvin was proud to provide this protection. He called his organization "the Caterpillar Club," after the silk threads used in original parachutes and the silken harnesses created by cocooning caterpillars. Still in existence today, The Caterpillar Club’s motto is: "Life depends on a silken thread." American Lt. Harold Harris, whose life was saved by a parachute when he bailed out of a crippled plane in 1922, became the first member of the Caterpillar Club.
Mini science lesson
We've come a long way since those early silk parachutes, but the science that save lives hasn’t changed a bit. Since parachutes slow down a fall, they're designed to grab as much air as possible. But how? Physics tells us that the larger the surface area of an object when it’s in contact with the air, the harder it is for that object to travel through the air. So, the larger the parachute, the slower it falls.
Make your own parachute!
In practice, we want our parachutes to open quickly and fall slowly. But just for kicks, let’s have some fun with parachutes. It’s easy to make your own parachute using recyclable materials around your house.
Making the parachute
- Cut the grocery bag down to a large flat square.
- Trim off the corners of the square so you now have an octagon (8-sided shape).
- Use the hole-punch to punch small holes near each angle.
- Put clear tape over the holes as reinforcement, and then punch holes again.
- Tie one end of each piece of yarn to each hole.
- Pull the other ends of the 8 pieces of yarn together, and tie them in a knot.
- Push your small toy through the knot. Now you have a parachutist!
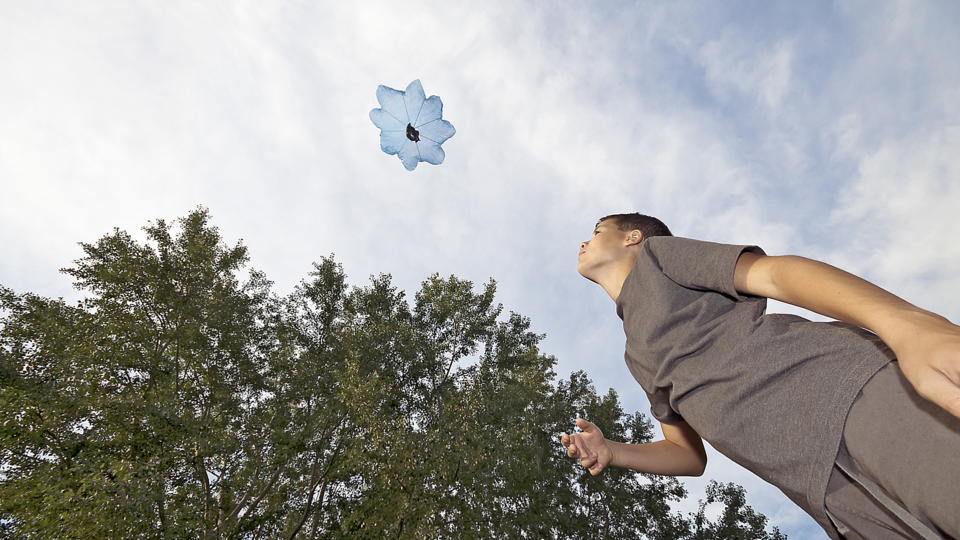
- Hold the parachute out in front of you, above your head with both hands and release it.
The trapped air in the parachute spills off to one side of the parachute's top, or canopy. This prevents it from falling straight. A small hole punched in the middle of the canopy will allow the parachute to fall straighter. Have your child experiment with different parachute designs. Race parachutes against friends to see which one lands first, or who can land their parachute on a target.