


Tie dye 4th of July
Show your spirit with handmade tie-dye tees for the Fourth!
You'll Need
- Red & blue dye
- Plastic squeeze bottles
- Gloves
- White t-shirts
Time
75 minutes
Learning Stages

For this project, I grabbed a couple of my favorite 9 year olds and we got to work. We worked outside and covered our work table with plastic garbage sacks. I suggested that my helpers put on paint clothes to protect their clothes from any dye splatter, but they opted for smocks made from garbage bags—which I thought was very clever of them!
- Mix the dye according to the manufacturers directions in squeeze bottles. I used the squeeze bottles that you can buy in the cake decorating section of the craft store. I made a bottle of Scarlet Red and a bottle of Navy Blue.
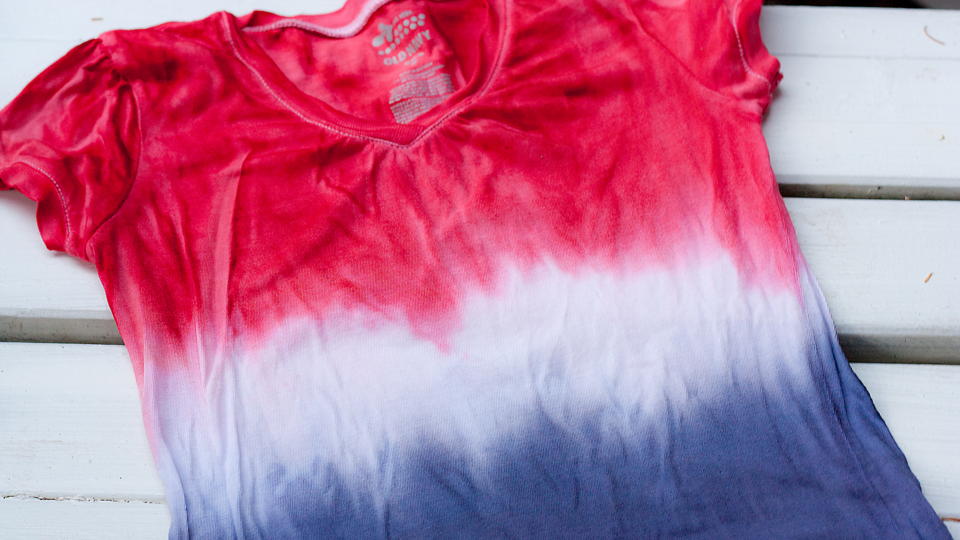
- We were going for a more dyed and less tied look, so we scrunched the fabric together and then squeezed the dye onto the t-shirt. We made a stripe of red on the top, eyeballing where to stop for the white portion. The hardest part was remembering not to touch the white part of the shirt when you have red dye on your gloves!
- After the red area was covered to our desired look, we grabbed the bottle of navy blue. We did the red first because we knew it wouldn’t matter if we got a little bit of red dye, from our gloves, on the navy blue section but getting navy on the red section would be much more noticeable.
- Once the dye had been put on the shirts, we rolled them up and placed them in plastic wrap for 6-8 hours. You will want to make sure the red is touching the red and the blue is touching the blue, otherwise you will end up with a lovely purple 4th of July shirt!
- After 6-8 hours, we rinsed, rinsed, rinsed. Then we washed then in the washing machine.
Happy 4th of July!
More Like This

A whiz-bang Fourth of July!
Give 'em some old-fashioned, all-American learning fun.
Creativity & Life Skills


A flag for the Fourth
Learning vowel sounds is a snap with this printable game for patriots.
Reading & Writing